Using Git with Visual Studio 2013
In this post I’ll outline how to make code changes when using Git with Visual Studio. This applies regardless of where git is hosted (TFS, GitHub or elsewhere).
Git differs from other source control because of its “branch often” philosophy. Plus the fact that you have a copy of the entire repository on your local machine! But despite the fact that TFS tries to make the process easy, there’s still a process to follow when doing development. Best practice dictates that instead of just checking our changes into origin/master (the “upstream repository”), we’ll want to do the following:
- Create a local branch
- Do your work and commit changes
- Merge changes with local master
- Push changes to upstream master
Note that in some cases, origin/master will NOT be our upstream repository. For example, we might be working off a Development branch. So make adjustments as appropriate when following this guide.
I’m going to assume that you’re already set up with your repository, either through TFS or by using the method outlined in my blog. Let’s say you’re ready to develop.
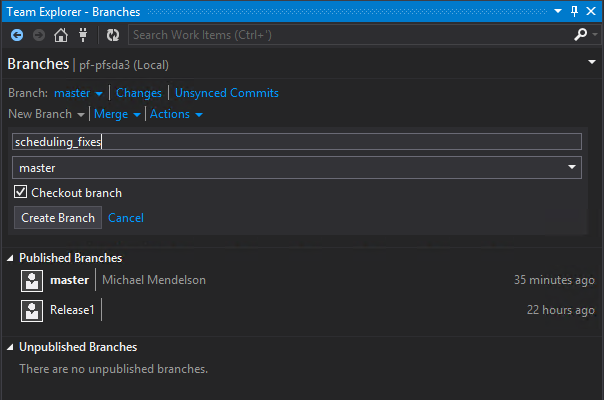
Create a branch
- At the TFS main menu, click on Branches
- Click on New Branch and set the name.
- Click on Create Branch.
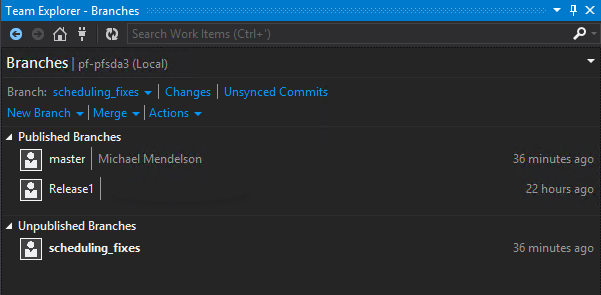
You’ll see your new branch under “Unpublished Branches”. In TFS, “unpublished” means that the branch exists only locally. Note that the value of the branch dropdown has been changed. You are now working on the new branch that you’ve created.
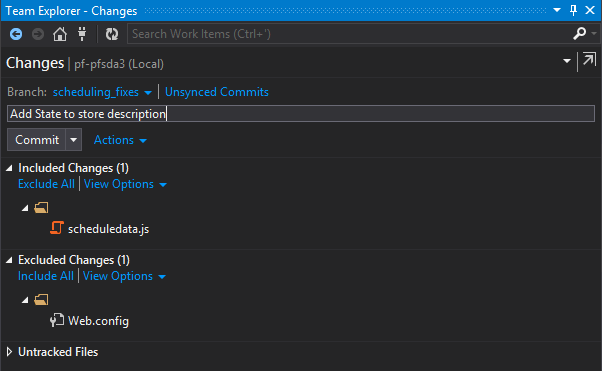
Do your work and commit changes
- Go to the Changes view. Your changed items will be listed.
- Add a comment for your commit (required).
- Click Commit. Changes are committed locally.
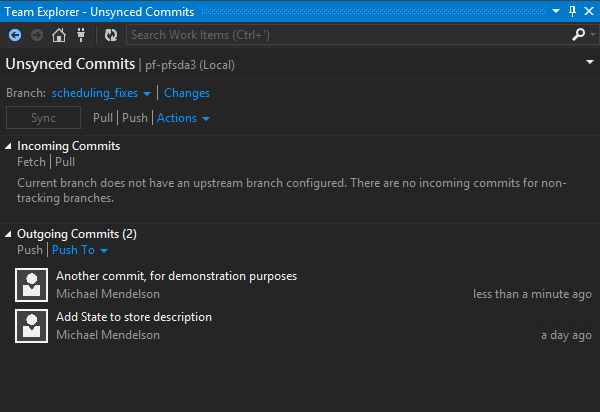
Merge your changes
Once you’re done and are ready to contribute your changes to the upstream server, your Unsynced Commits tab might look something like this:
- In the Merge tab, click on the Merge dropdown.
- Set it up to merge the changes to your local master.
- Click Merge.

Since this is your LOCAL master, you’re unlikely to have conflicts. Notice that you’ve been automatically switched to the master branch. You’re done with your old branch, and it can be deleted if appropriate.
Push your changes
Time to push your changes upstream! From the Unsynced commits tab, do the following:
- Click Pull to merge all changes locally.
- Address any conflicts between our check-ins and the merged ones.
- Retest the code as necessary.
- Push again.
Note: The Sync button will both pull and push in a single step. The problem with this approach is that you don’t have the opportunity to test any merged changes!
If your local repository is in sync with the upstream server, you can simply push without the pull. But to avoid an error, simply pull first.
If your push was successful, you’ll get the following:
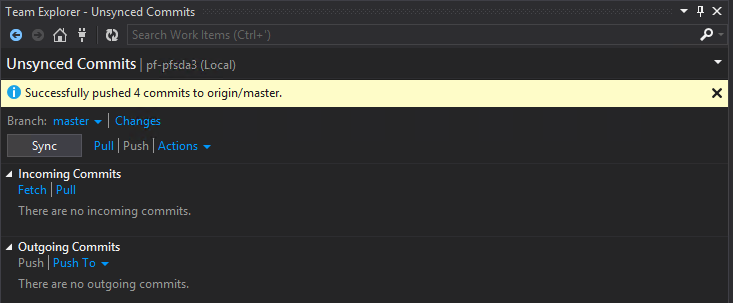
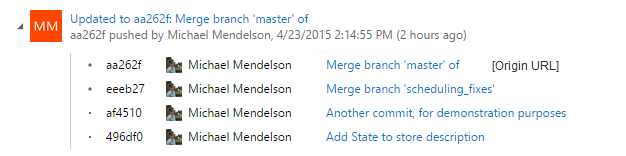
Success! When I view the history in TFS, my merge looks like this:
Related: Getting started with Git/TFS (relates to git hosted on TFS)